|
|
Post by metroland on Aug 9, 2012 17:18:24 GMT
A simple project for the summer. I had some of the Airfix auto coaches from way back, when they were a cheap way of getting a complete train. Although the body has some inaccuracies it still offers a cheap basis for a bit of trial and error. The one thing that really grated with the originals for me was the horrible purpley maroon they used for the BR ‘maroon’. As a simple summer project I resprayed a couple with Halfords primer and then did one all-over carmine (Hycote Ford Rosso red acrylic). For the other one I sprayed Hycote Vauxhall Gazelle Beige for the cream and then Rosso red for the carmine. The close up camera work is a bit cruel, especially the recessed glazing. The weathering seems a bit more lumpy on the pic than it does to my eyes, likewise the cream seems to come across somewhat more yellow in the pic. I’ve added some buffer beam detail to both and a driver for one of them. All in all it was quite a simple project and they withstand a bit of tarting up I feel. 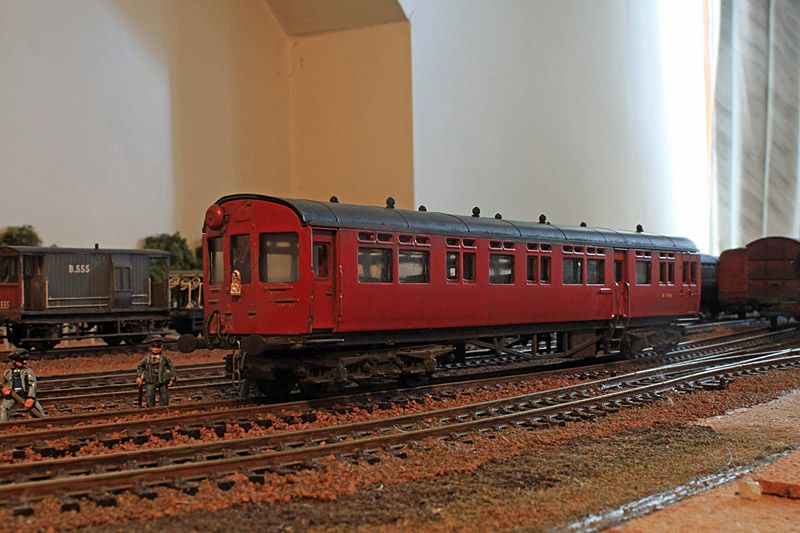 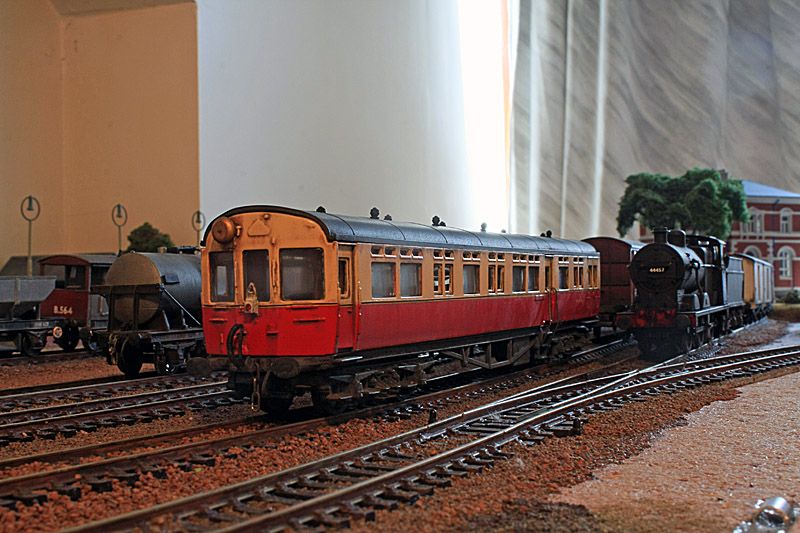 |
|
metman
Global Moderator
5056 05/12/1961-23/04/2012 RIP
Posts: 7,421
|
Post by metman on Aug 9, 2012 17:29:44 GMT
Looks good to me! I read the way to overcome the recessed glazing is to paint a darker shade of the base colour in the window reveals.
|
|
|
|
Post by metroland on Aug 9, 2012 18:27:59 GMT
Looks good to me! I read the way to overcome the recessed glazing is to paint a darker shade of the base colour in the window reveals. It's not evident from the pic but the carmine one has black window surrounds - prob why it looks better from above. It doesn't really work with the cream though, so I left them cream. |
|
|
|
Post by The Tram Man on Aug 9, 2012 18:52:32 GMT
They are looking fine! And i don't see any problem with the windows.
|
|
|
|
Post by metroland on Aug 9, 2012 19:37:14 GMT
Thanks Tram Man. For metman and others: After turning on the Greenford triangle, W179W returns in company with 1442 showing the effect of the blackened window surrounds. 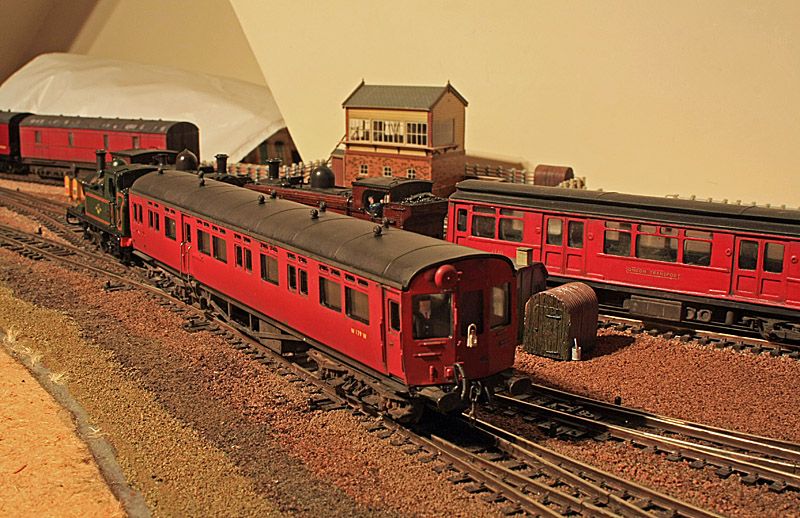 |
|
Deleted
Deleted Member
Posts: 0
|
Post by Deleted on Aug 10, 2012 20:39:50 GMT
Excellent work as ever. Those Auto-coaches look superb! I took to painting window recesses black a long time ago and it generally looks a lot better.
|
|
|
|
Post by metroland on Aug 17, 2012 18:03:11 GMT
Some of you may be wondering if I’ll get back to any specific LT models. The answer is yes I shall. I have 2 Q-stock cars to work on but I really need a straight run at them. Meantime, with a mix of bad weather and really hot weather, I find myself with an unusually large amount of ‘small bits of time’ in the summer so am cracking on with things I can pick up and put down easily. Having tarted up some Airfix auto coaches I’ve turned my attention to some B set coaches. These weren’t a bad representation but as with all things GWR there are lots of variations. I hadn’t realised the Airfix B set coach has a window on one side which shouldn’t be there, so this current pair perpetuates the error as I was too far into the project to remedy it this time. However, I have another pair about to enter works where I’ll get it right (hopefully). An easy conversion is simply to lop off 3 off the roof shell vents so this is what I’ve gone for. The proposition is an increase in squaddies travelling between RAF Halton and RAF St Athan has created the need to replace some auto coach workings Maidenhead-Aylesbury with some B sets drafted in from the West country. Original Airfix: 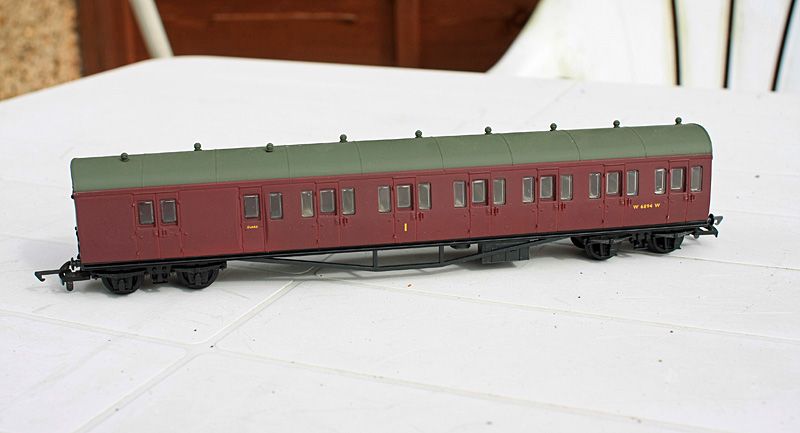 The pair in carmine. I still have a bit of bogie/underframe weathering to add, and I need to sort out the couplings. Both coaches have had Laserglaze fitted – just 44 windows per coach to send you insane….. 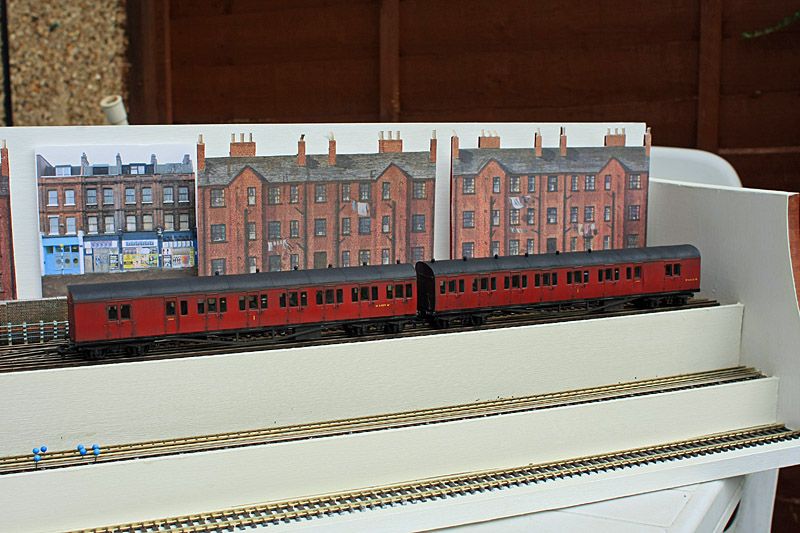 A close-up of W6459W 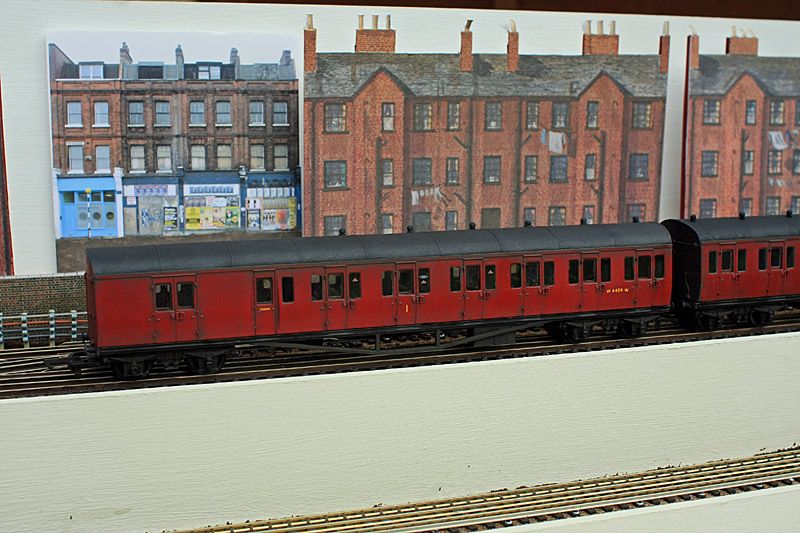 And a close up of W6460W 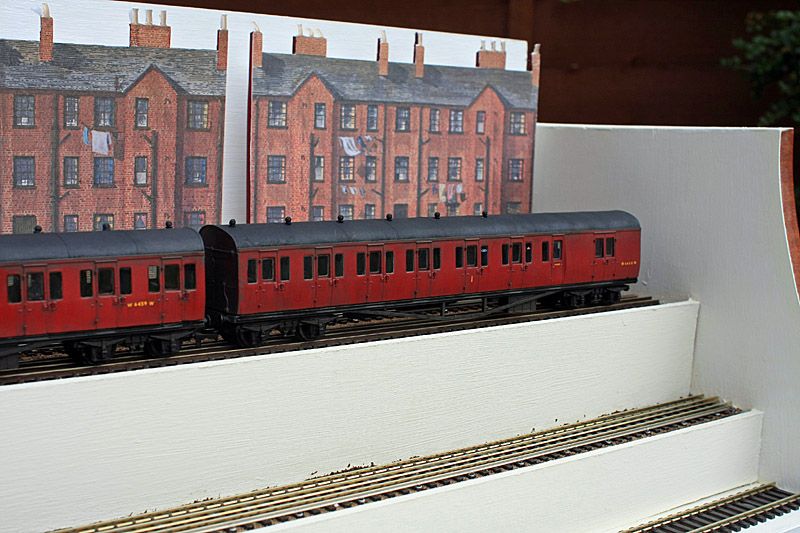 On the layout: 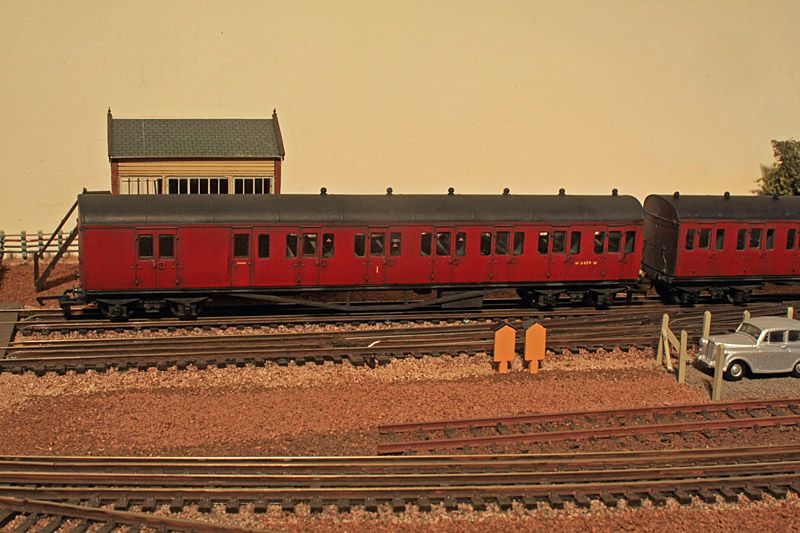 A closer view on the layout: 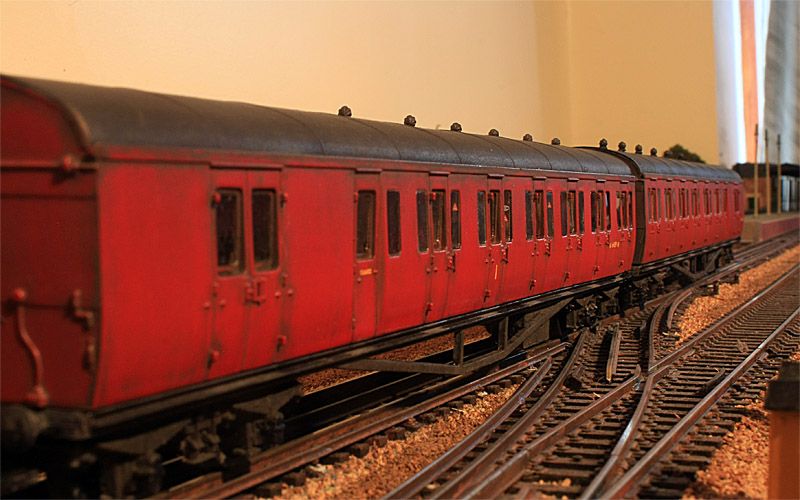 |
|
Deleted
Deleted Member
Posts: 0
|
Post by Deleted on Aug 18, 2012 13:42:21 GMT
very nice
|
|
|
|
Post by metroland on Aug 18, 2012 15:12:24 GMT
Thanks storme37. My maroon auto coach has now emerged from works, completing the trio of BR liveries this type carried. 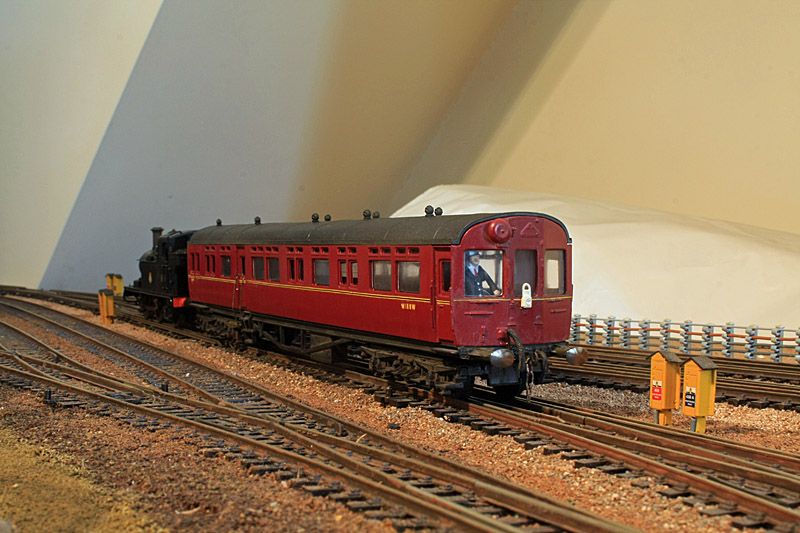 |
|
|
|
Post by metroland on Aug 31, 2012 18:02:49 GMT
I had to chance to crack on with a bit more BR stock. The old Airfix LMS 57’s LAV vehicles provide another way of getting some reasonable looking stock for low outlay. The windows on the real thing were never flush so there’s no point using SE Flushglaze! However, darkening the edges takes off some of the plastic look. The really big disappointment for its day was the size of the LMS bogies which I’ve replaced with Bachmann ones. The ‘girder’ on the Airfix one is 2.5mm deep but on the Bachmann is 4mm – quite a difference. 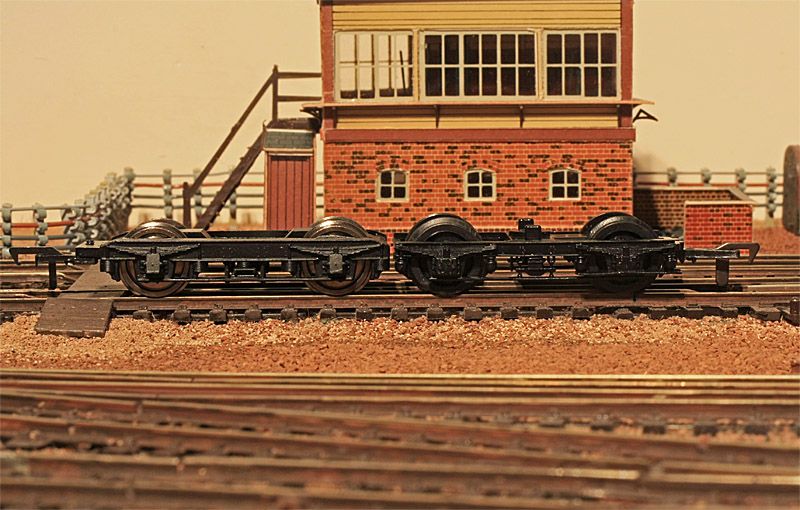 The first pair are in carmine, like the B set coaches. I have a maroon pair in works but they probably won’t be finished for a while due to staff holidays. 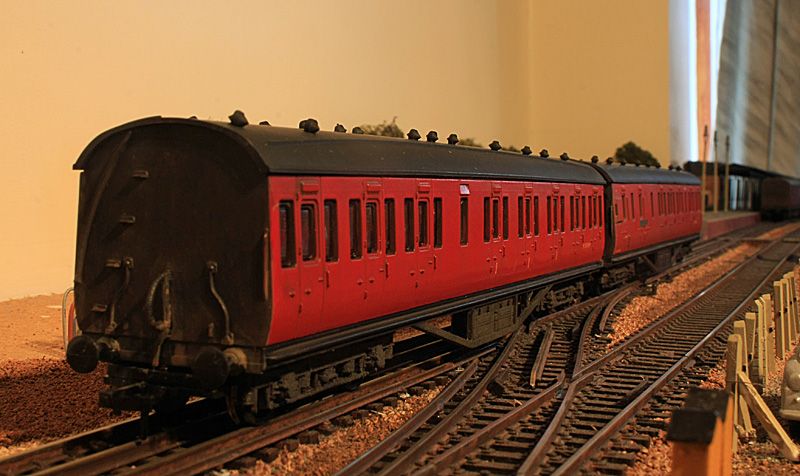 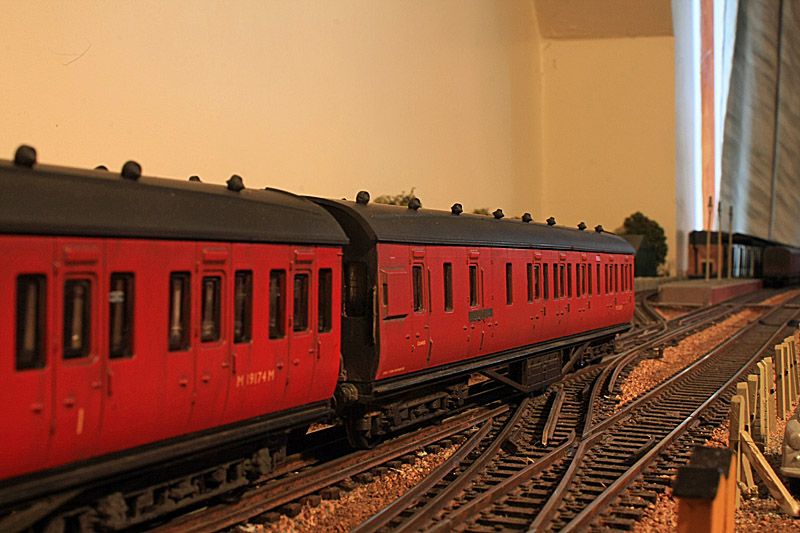 |
|
metman
Global Moderator
5056 05/12/1961-23/04/2012 RIP
Posts: 7,421
|
Post by metman on Aug 31, 2012 19:05:05 GMT
Nice! Are these kits now being sold by Dapol? I was looking to cut a few up for Metal panelled T stock.
|
|
|
|
Post by metroland on Aug 31, 2012 19:18:36 GMT
|
|
DWS
every second count's
Posts: 2,487
Member is Online
|
Post by DWS on Aug 31, 2012 22:01:12 GMT
The T stock (formerly MW stock), did have doors with rounded tops. |
|
|
|
Post by The Tram Man on Aug 31, 2012 22:05:30 GMT
Nice! Are these kits now being sold by Dapol? I was looking to cut a few up for Metal panelled T stock. That'd be fun to see. |
|
|
|
Post by harrowman on Sept 1, 2012 6:15:18 GMT
The T stock (formerly MW stock), did have doors with rounded tops. I read somewhere, the reason for the doors having rounded tops was if a passenger opened one when the train was on the move in the tunnel between between Finchley Road and Baker Street, it would prevent any damage. Can any historians among us confirm or deny this? |
|
Deleted
Deleted Member
Posts: 0
|
Post by Deleted on Sept 1, 2012 7:14:23 GMT
The T stock (formerly MW stock), did have doors with rounded tops. I read somewhere, the reason for the doors having rounded tops was if a passenger opened one when the train was on the move in the tunnel between between Finchley Road and Baker Street, it would prevent any damage. Can any historians among us confirm or deny this? I have seen this mentioned in more than one place - not sure how effective it would have been? XF |
|
|
|
Post by Dstock7080 on Sept 1, 2012 9:00:58 GMT
I read somewhere, the reason for the doors having rounded tops was if a passenger opened one when the train was on the move in the tunnel between between Finchley Road and Baker Street, it would prevent any damage. Can any historians among us confirm or deny this? I think the phrase would be "minimise damage" rather that 'prevent' as a rounded corner in a rounded tunnel, to Aldgate as well!, would be better than a sharp edged door. |
|
metman
Global Moderator
5056 05/12/1961-23/04/2012 RIP
Posts: 7,421
|
Post by metman on Sept 1, 2012 10:21:29 GMT
That was my understanding too. It goes back to early MET rolling stock. The flush panelled T stock did have rounded doors but these are hard to notice on stock that does not have mouldings. I'm hoping to use an old Airfix coach to make a 7 comp T stock trailer. I'm using a few old GarFar coaches to make some motor and driving trailer cars. I hope the body profiles go together ok. If they don't it's not a problem as I plan to run my T stock in mixed sets ranging from all batches including dreadnought conversions. My current 4 car set has an 1927(MV-M)-1930(7)-1920(9)-1930(CT) I'm hoping to add a pair of flush motors, dreadnought converted driving trailer and a couple of 9 comp T stock trailers too. I expect the new T stock trailers will be available through a well known LT model making business!  |
|
|
|
Post by metroland on Oct 29, 2012 12:25:51 GMT
With the winter 2012/13 ‘season’ underway, this winter’s principal task is to get some more scenic work done. Herewith an initial update. One of the reasons for leaving this so long is that I’ve been using part of the layout as a workbench, and if I do all the scenic work in the foreground, I lose the working area. Please bear in mind this is all very much work in progress, but hopefully it’s starting to ‘place’ the layout in the outer reaches of the LT area late 50’s/early 60’s. First up, a long thin bit behind the signal box and towards the station. It wasn’t without problems, as I bought some trees a couple of years back and then decided they don’t quite work, so at the moment I have no tree line on this section. Also, I’ve discovered it might have been easier doing the Alps or Fenland….. getting a happy medium for the Chilterns wasn’t at all easy (at least not for me it wasn’t). The signal box is just plonked here for judging perspective etc. The colour of turf needs blending from one section to the next in the immediate foreground, and the exposed chalk will mostly disappear under several decades weathering in due course. At the moment it looks a bit too much like it’s on the coast. 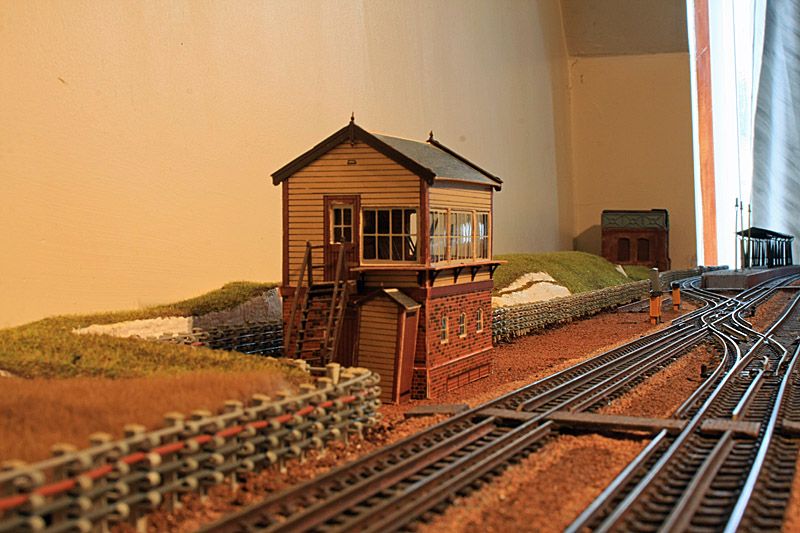 The room in which the layout lives is a loft conversion which means I have 2 chimney stacks forming a triangle behind the layout. I did think about blocking this in, but that was looking like it’s too narrow, so I’m trying to create a bit of perspective here giving a longer scenic view. The grass needs highlighting as the colour is too uniform, but I’m quite happy with this area as a first really serious attempt at scenic work. 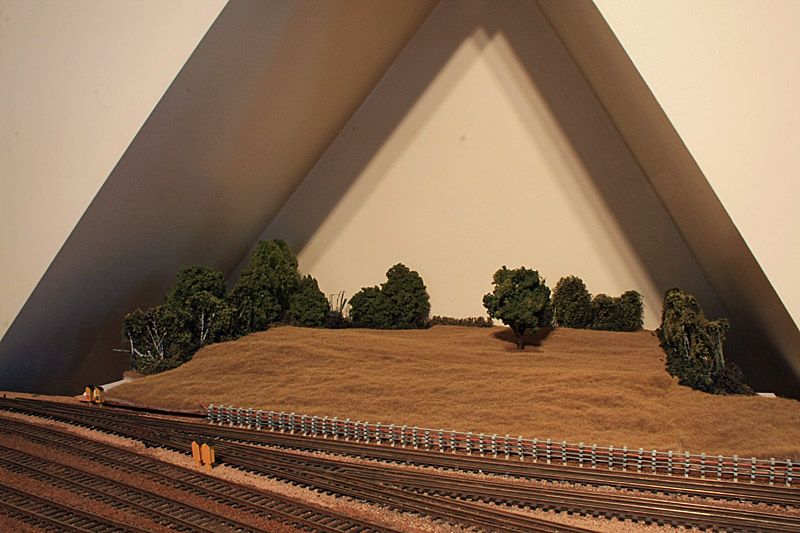 There was a film a while back called The Money pit where a couple bought an old house to fix up. Am starting think scenic work is a kind of money pit…. This area is about A3 size but takes quite a bit of material to do convincingly. However, I am at last starting to get a feel that I might actually get some ‘train in the landscape’ cameos as work advances. 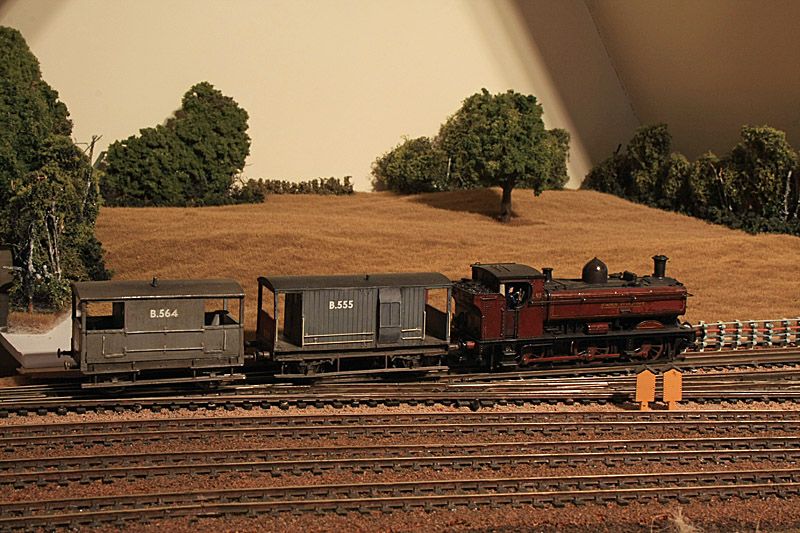 |
|
|
|
Post by metroland on Nov 27, 2012 11:00:59 GMT
Scenery work seems to be going on forever, so I’ve taken a little time out to build a water tank. AYJ doesn’t have an engine shed as such, but I felt it needed a bit of a servicing facility for when locos are out-stationed here eg for weekend engineering. I was always fascinated by the Met’s little shed at Brill, and its rather Heath-Robinson water tower, so I’ve had a go at scaling this down. www.flickr.com/photos/mraylesbury/7488299220/This is my first attempt at building anything from solely scratch-building materials. The tank is made from Evergreen planking, with 2mm strips for the strengtheners, and L shaped plastic for the corners. The supports are balsa, with brass rod for the diagonals. 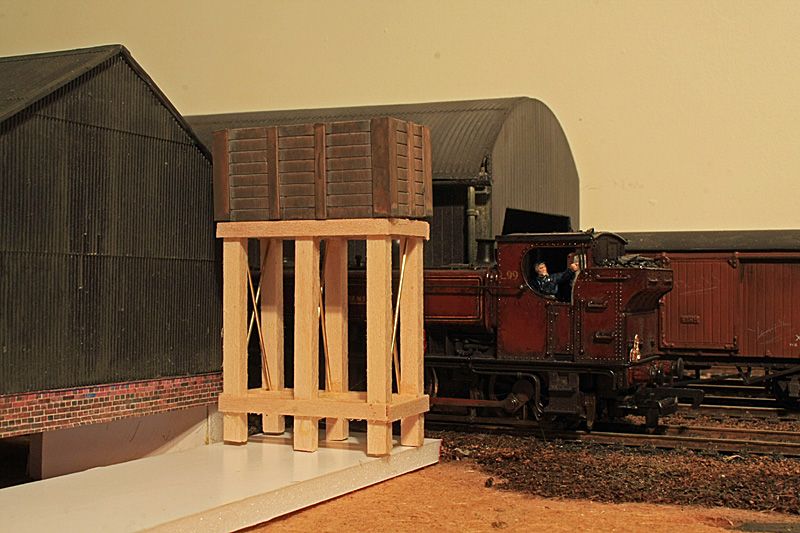 At the moment this is just for judging relative size, height and perspective. There’s plenty to do yet with sanding the balsa, thoroughly painting the tank, and then painting the support structure, plus of course getting it all reasonably square as things are just plonked in more or less the right positions at present. 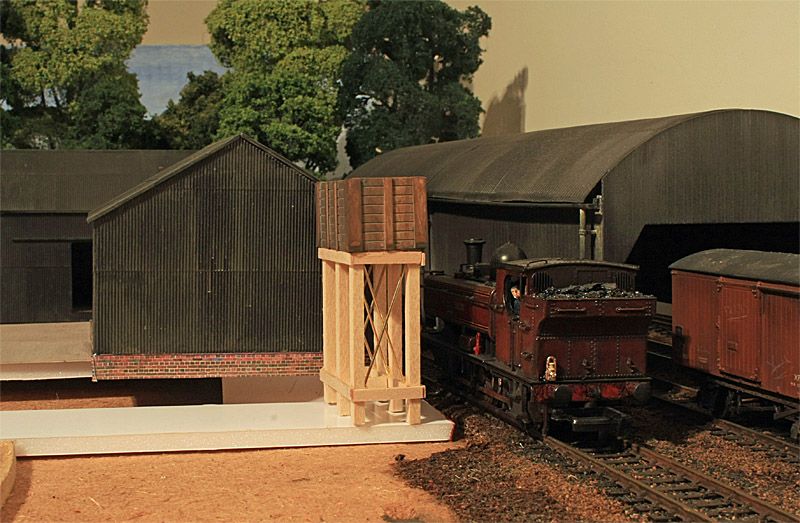 Needless to say there’s plenty to do with the pipes in and out to be done, and also a minimalist ‘coaling facility’ which will probably just be a pile of coal on the ground. I though it worth taking these unpainted pics as I’ve not done anything from scratch before, and a lot will probably be lost when it’s all got a heavy coating of weathering. |
|
|
|
Post by metroland on Nov 27, 2012 20:38:56 GMT
I’ve done a bit more weathering on the water tower and didn’t have time to do any serious modelling tonight so I’ve just taken a few more pics of the area to judge sizes, angles and perspectives. One of the beauties of digital photos is that you can take some snaps and see instantly if things are panning out ok (or not!) The building on the right in the between-the-sheds shot moved on me, it will of course be level in due course. 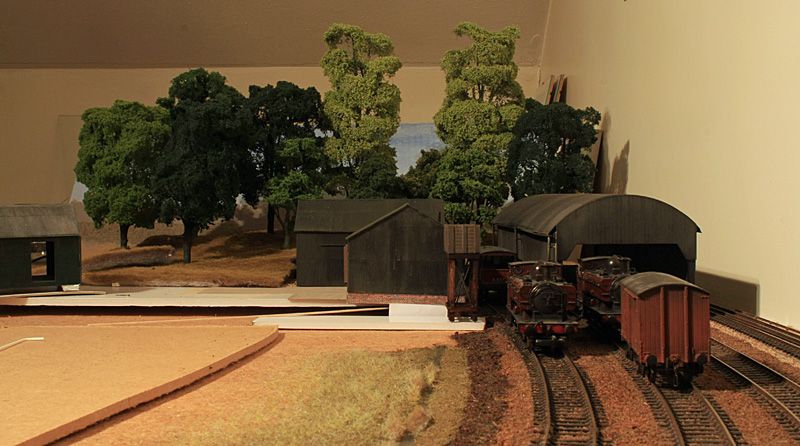 The background sky is just a piece of card with some emulsion slapped on, to judge colour and height. It needs to be taller but I’m reasonably happy with the colours. 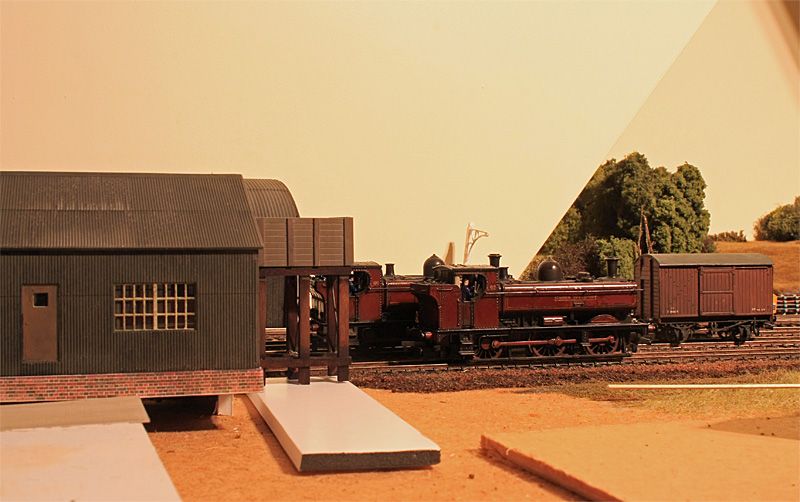 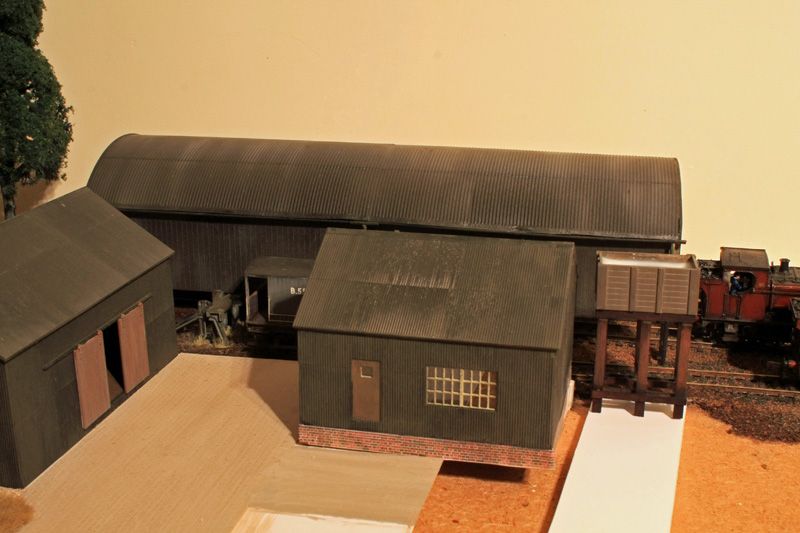 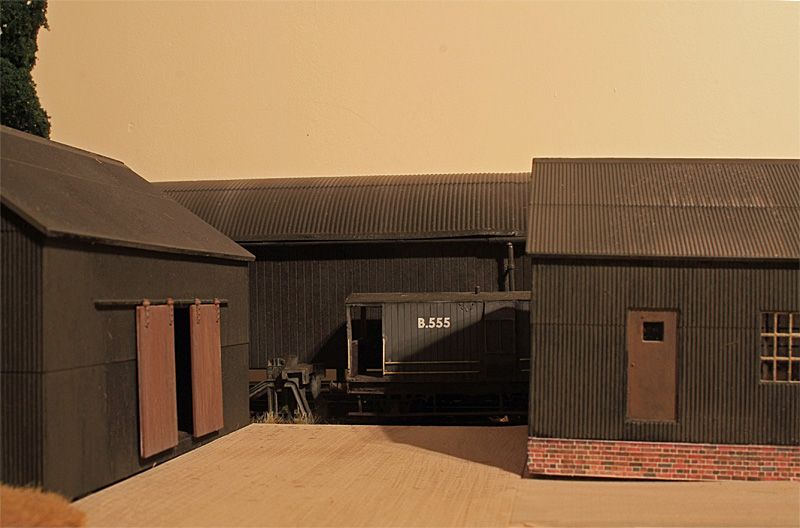 |
|
|
|
Post by railtechnician on Nov 27, 2012 23:18:27 GMT
Metroland, nice work except for those shop bought turnouts which have noticeably unrealistic openings! In a 1:1 scale turnout the opening between the switch rail and stock rail is just 4" plus or minus 1/8".
I suspect that even if you built your own turnouts you'd struggle to produce a correct scale version that didn't derail everything passing over them due to the thickness of the wheel flanges on the rolling stock.
Of course the smaller the gauge the worse the problem.
|
|
Deleted
Deleted Member
Posts: 0
|
Post by Deleted on Nov 28, 2012 12:17:45 GMT
Well done so far with this project.
As someone who is building a metro route using Train Simulator 2013, I am very much enjoying this thread about the world's first metro. The work you have done so far is very convincing. Congrats on what has been achieved so far.
Regards,
DR4M
|
|
Deleted
Deleted Member
Posts: 0
|
Post by Deleted on Nov 29, 2012 13:56:55 GMT
Fantastic work so far. Do you have any plans to show this layout or is it static at home?
|
|
|
|
Post by metroland on Nov 29, 2012 14:36:34 GMT
Thanks Glyn,darkrails4me and railtechnician - it's very much a layout which doesn't leave home. When I started out (see page 1!) I never thought I'd be doing anything capable of public exhibition, so it's not built with dismantling in mind.
At the time I was thinking along the lines of trying to make a good fist of it and that MAYBE my next layout might be good enough to start with exhibiting in mind. Must admit I've surprised myself.
|
|
Deleted
Deleted Member
Posts: 0
|
Post by Deleted on Nov 29, 2012 16:39:42 GMT
Fantastic work so far. Do you have any plans to show this layout or is it static at home? I have invited Metroland to exhibit his layout in Maidenhead - in May next year - the offer still stands!  XF |
|
|
|
Post by metroland on Nov 29, 2012 17:49:53 GMT
Fantastic work so far. Do you have any plans to show this layout or is it static at home? I have invited Metroland to exhibit his layout in Maidenhead - in May next year - the offer still stands!  XF Sadly there's no way it can be dismantled and re-erected not to mention the fact there are prob 2 winter's worth of work to get it done. |
|
|
|
Post by metroland on Dec 12, 2012 12:16:35 GMT
I’m trying to concentrate on scenery for a while and have been continuing work alongside the back wall. With a triangular shaped alcove and the square angle just by the station, I’ve been trying to hide these in plain sight, and make use of them rather than just block them off. I’m lucky enough to have a much longer run along this section than some people have space for, and am trying not to overfill. One problem I have though, is the Metropolitan lineside was quite clear in the 20’s and 30’s, but by my period was much more treed up. At the moment, all my scenery is on various size moveable boards so I can pull them out to work on without leaning across the layout too much, but it does mean there’s a gap and/or unfinished areas right at the front, just behind the cable runs. As you walk in the door, I’m quite pleased with the relative open stretch between the signal cabin and the station, although it looks a bit too bare from the station end looking towards the cabin, so I’m debating if a bit more woodland is needed. 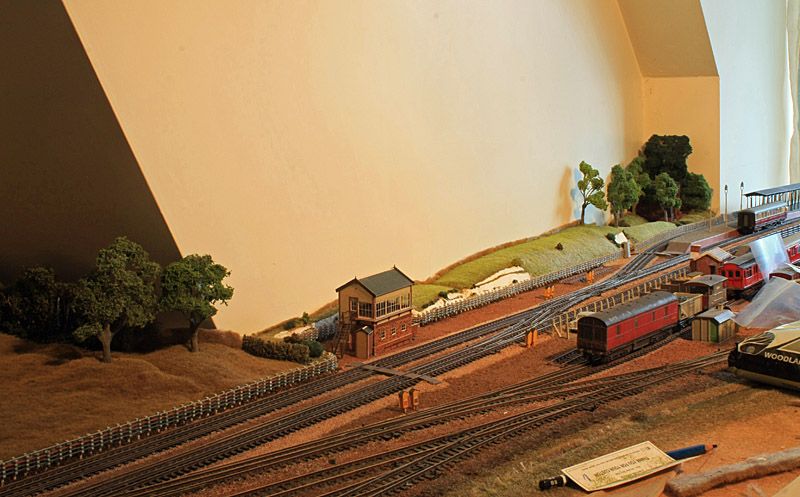 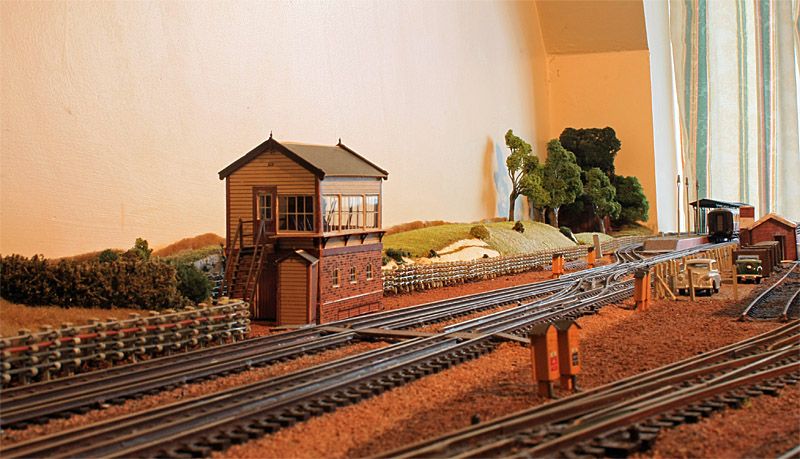 For the ‘corner’ wall I’ve installed a water tower (Townstreet – but I’ve bricked up the windows as the Met just had brick representations of windows). The tree growth is very strong behind as it doesn’t get any attention, whilst newer trees are getting established in the foreground. 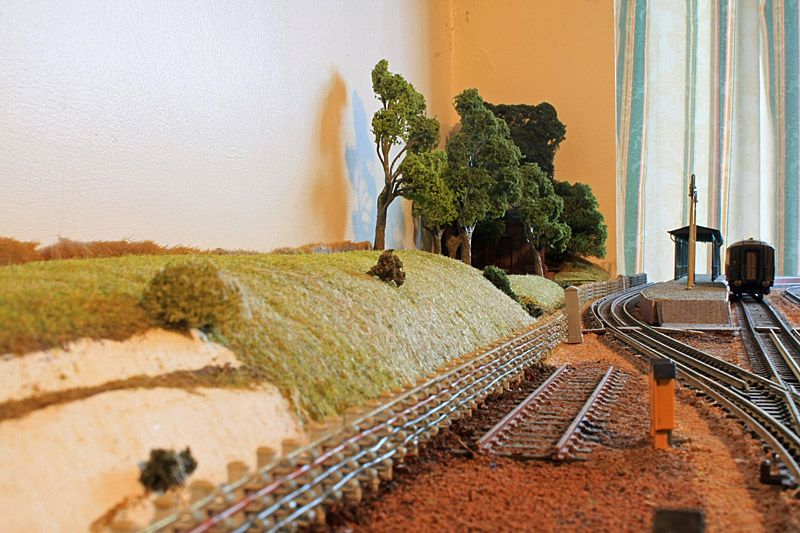 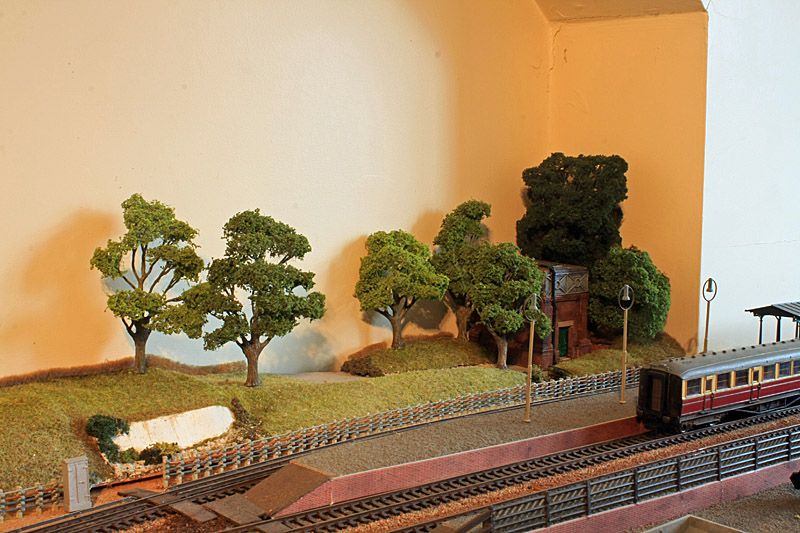 I decided to have a go with static grass for the embankment here. I couldn’t really justify £100 for the Noch Rolls-Royce jobbie so settled for a £40 Grasstech tea-strainer variety. I have to say this has gone quite well for a 1st attempt. The area was painted with brown and green emulsions to give an undercoat. Patience is needed to build up layers and colour variation. By doing small areas at a time and continually making minor variations to the mix of ‘grass’ you can get transitions with ‘green’ grass on the top where the sun hits, and ‘straw’ coloured grass on the steeper slopes and so on. On the attached pic, the texture seems more grainy/lumpy than to the naked eye, but hopefully shows the big variation in colour and the transitions you can achieve from a few colours. After trying all kinds of material, I’ve more or less settled on Noch for the smaller 2mm strands and Realistic Modelling Services 2mm and 6mm ones for the straw colour in the mix as the longer Noch ones didn’t seem to go through the tea-strainer as well. 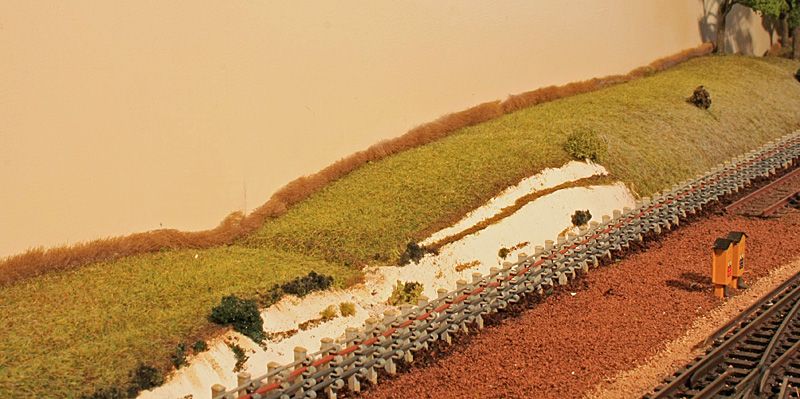 |
|
metman
Global Moderator
5056 05/12/1961-23/04/2012 RIP
Posts: 7,421
|
Post by metman on Dec 12, 2012 20:56:04 GMT
Looking good sir!  |
|
|
|
Post by metroland on Jan 23, 2013 12:49:06 GMT
I haven’t been able to work on the layout itself for a little while but have picked up a project that’s been hanging around for ages. I had a couple of green Airfix Class 31’s from way back, which still perform quite well but aren’t quite up to today’s standards. The dull green covering is really quite horrible and the cabside numbers aren’t quite right, and of course the cabs weren’t flush glazed. I’d held off attacking these for ages as I thought they’d need a full repaint but after taking the plunge realised this isn’t so. I took some T-cut to the cabsides to remove the numbers and discovered that if you’re not too ham fisted the horrible dull sheen can give way to a reasonable finish. In fact I went round the loco twice with T-cut washing in between. The cabs were glazed with SE Finecast glazing which I’d also had forever. New numbers and electrification flashes were from Modelmaster sheets. I’d decided to number it as D5537 on loan from Ipswich, which had been in service a couple of years and not exactly abused, but not given much TLC either. I then covered the model in a couple of thin coats of satin varnish which were followed by my usual gunge of Joe’s Model Trains shale and dark brown, which was then immediately removed with cotton buds. When dry, the louvres were treated to a thin wash of Modelmates oily brown as the loco at this stage wouldn’t have been too unloved. Original Airfix (except for flush glazing): 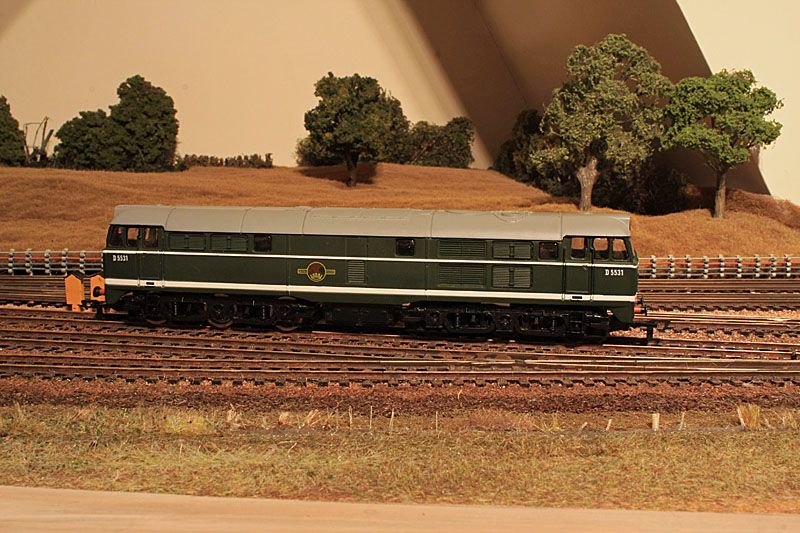 D5537 side on: 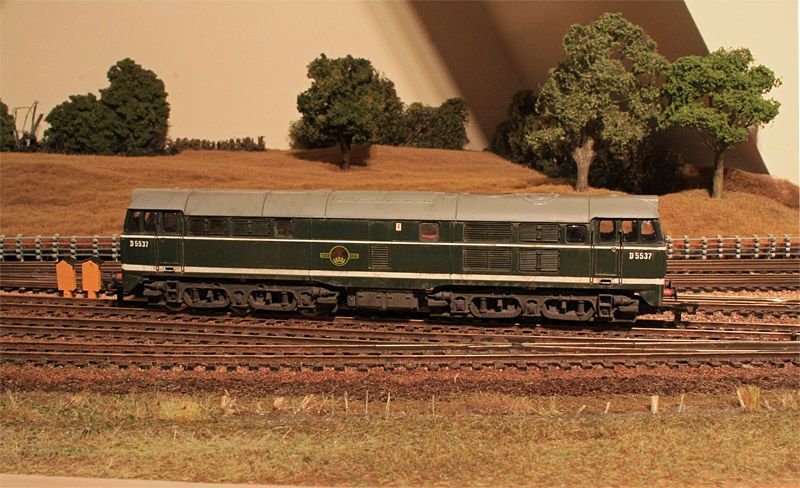 The bogies were treated to the same gunge, but with grey powder stippled whilst still wet, After drying, small amounts of Modelmates oily brown were added to parts of the bogies. After that had dried, some terra cotta powder was brushed over the bogies which is my choice for representing brake dust, and then over-dusted (including lower body sides) with dusty brown. I find a ladies blusher brush very good for this final light dusting stage. D5537 is caught on a trial run with some quad-arts: 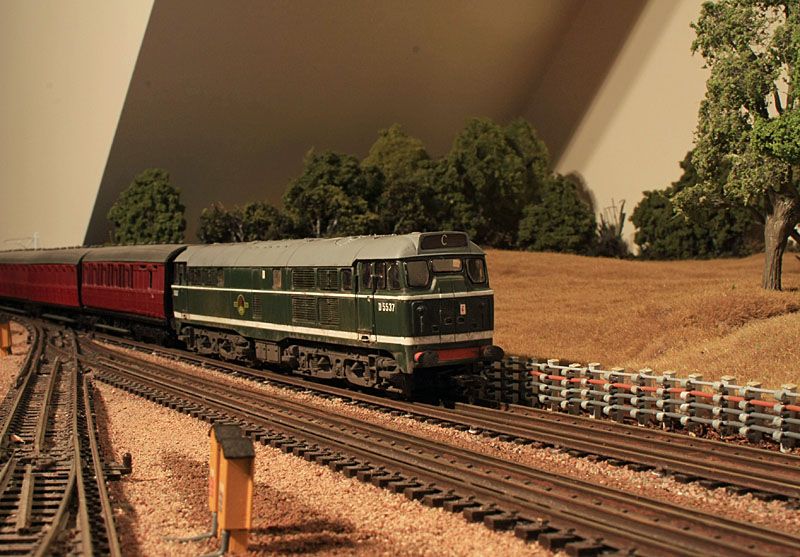 Head-on the weathering looks a bit heavier than side-on so I may clean the sides a bit more. The roof needs a bit more weathering and of course couplings and front end pipes need attention, along with doing some wiper blades, oh and of course the headcode panels. This has been quite enjoyable as it’s an inexpensive upgrade, and although it took several ‘passes’ none of them individually required any particular skill – just patience. In fact just lately, I seem to be doing more and more rehab of old Airfix, Mainline, and SOME Lima items. The joy of these is they are relatively cheap and you can do as much or as little as you want, and if it all goes belly up you haven't ruined an expensive item of stock. |
|


