…or hopefully not too many tears.
You shouldn’t need much skill at all (I have very little) but you will need some patience as this method means you can only do a few inches at a time – but if you work on 2 or 3 different bits of track you can do 18-24” at a time.
I anguished for a long time over how to get 4 rail track right, which is probably a common issue with 99.9pct of you reading this.
The down sides:
a/ 00-16.5 gauge is ‘wrong’ so it’s all compromise to some extent.
b/ I was never happy with the Peco bit ands bobs.
c/ I couldn’t get hold of the conductor rail ‘ramps’ by Scalefour Society(?) though these may now be available.
d/ I was quite disappointed with some Southern electric layouts which were generally first rate, but spoilt by conductor rail ends which were simply bent at the ends to represent ramps.
The up sides to my method:
1/ No special tools need.
2/ No previous skill needed – just patience.
3/I feel it looks right (well it satisfies me anyway). ‘If it looks right it is right’ given that I’m working with OO-16.5mm which is ‘wrong’ to start with.
4/ It’s technically very simple! Just take your time.
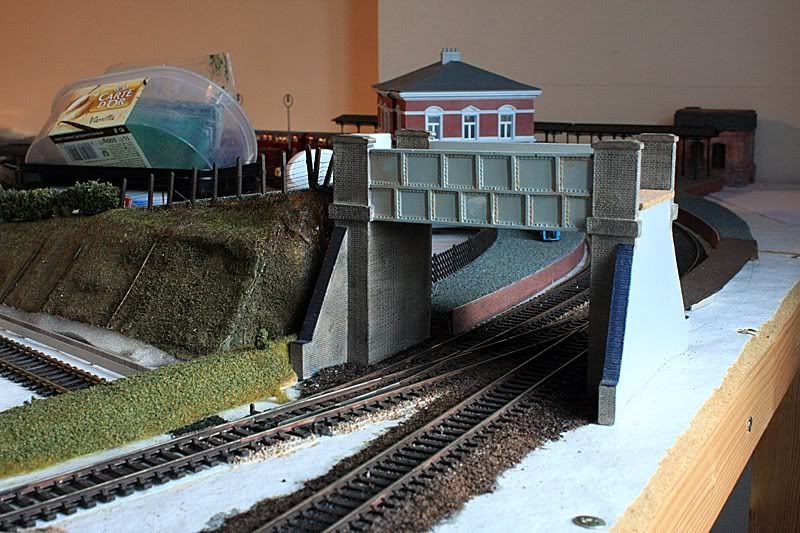
My track is Peco Code 100 and had been laid and ballasted for some time, but not weathered. Like many of us, I kept putting off having a go at 4 rail, and when I did try on some sidings, it was frustrating, and didn’t look right.
In theory, turning Code 100 rail upside down and using it for 3rd and 4th rails would be ‘scale’ (LT conductor rails are heavier than running rails) but it didn’t look right.
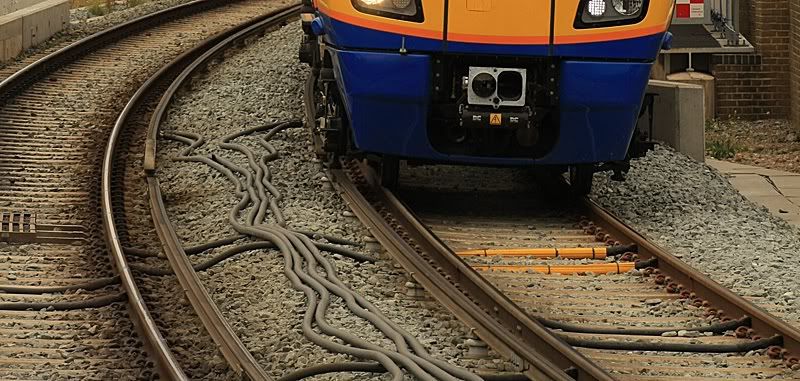
When I look at real track, it always looks to me that the outside conductor rail is thinner than running rail due to the action of conductor shoes. Likewise the centre rail looks to be the same width as the running rails due to the ‘cleaning’. Obviously if you stare at one bit you can soon see the conductor rails are thicker.
OK, so we’re back to trying to get OO to look right and I felt that by using Code 100 rail for the middle, and Code 60 (N gauge rail) for the outer conductor rail was reasonably convincing.
I worked out a way of doing ‘ramps’ which was not perfect but gave me an easy way of doing them with very little grief.
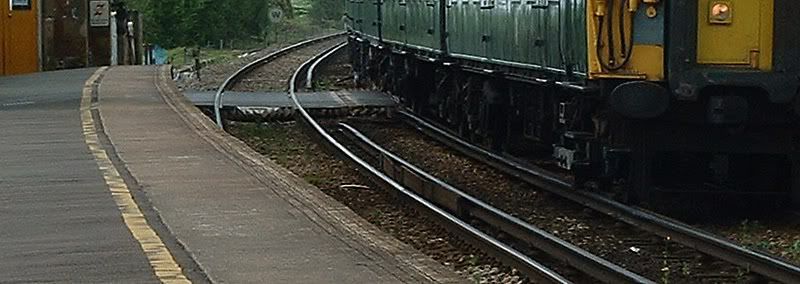
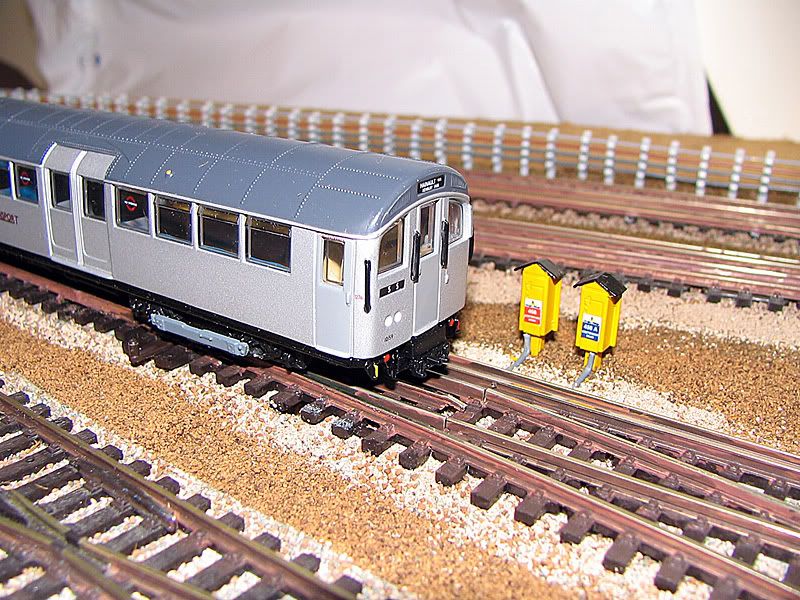
Basically you need to cut a notch out of the end of the rail (the rusty brown area in pic). Note that the lower cut needs to go from 2 o’clock to 8 o’clock if you’re right handed.
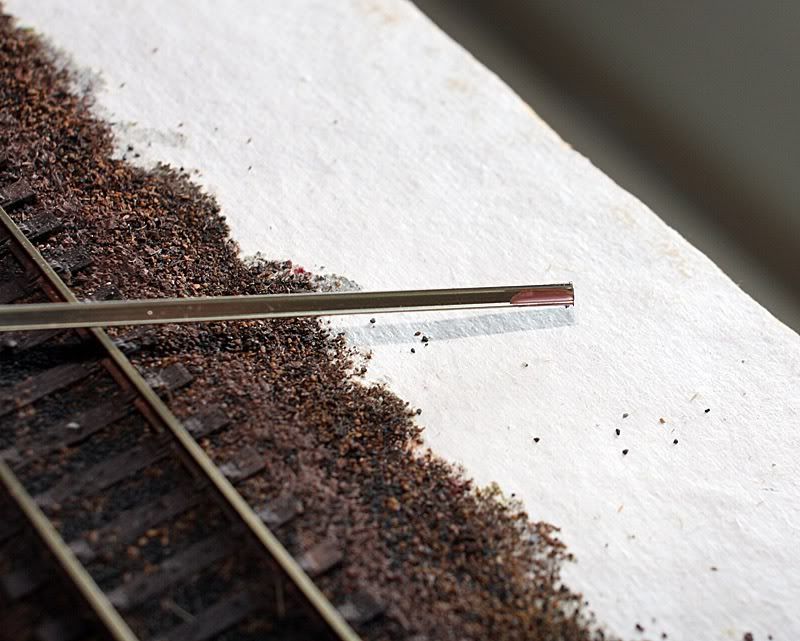
I haven’t included any dimensions for the cut as I vary these a little to suit the location.
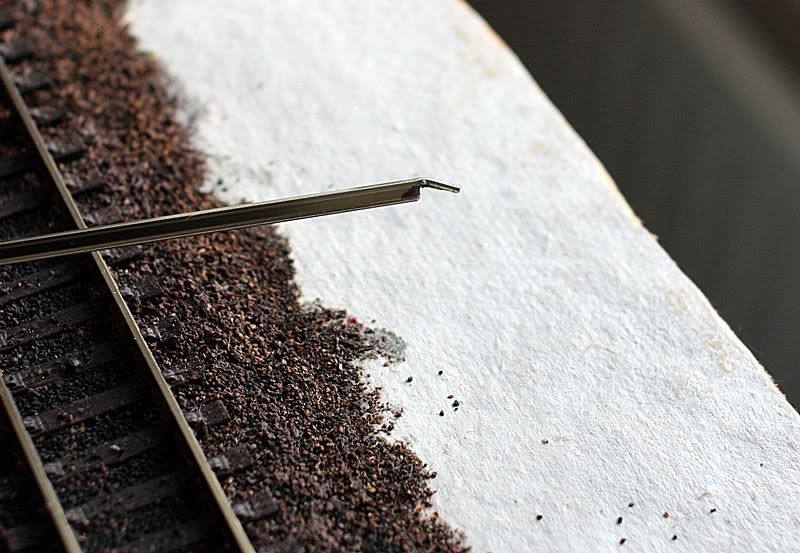
Once cut, the laws of physics mean the end will turn upwards.
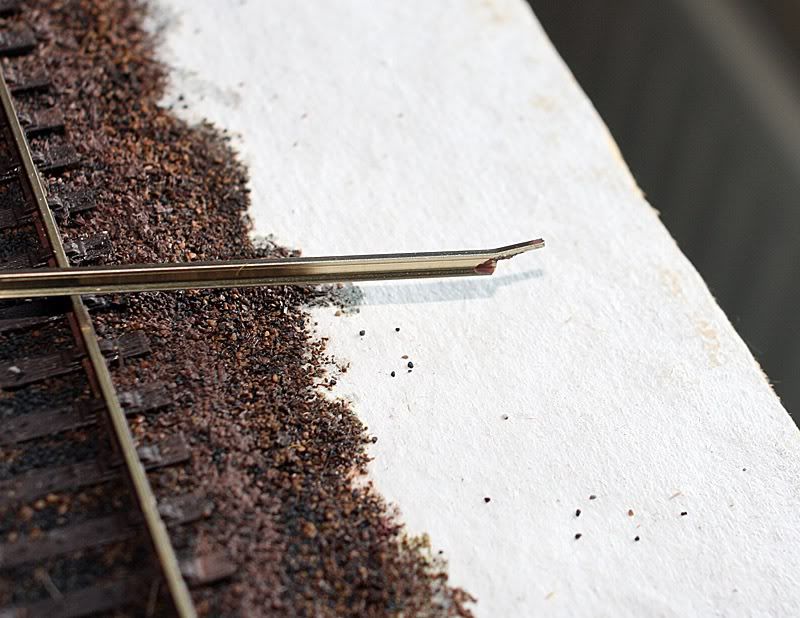
Simply use some pliers to turn it downwards. Note that I didn’t angle the cut properly in this case but you can always do it again or file it down.
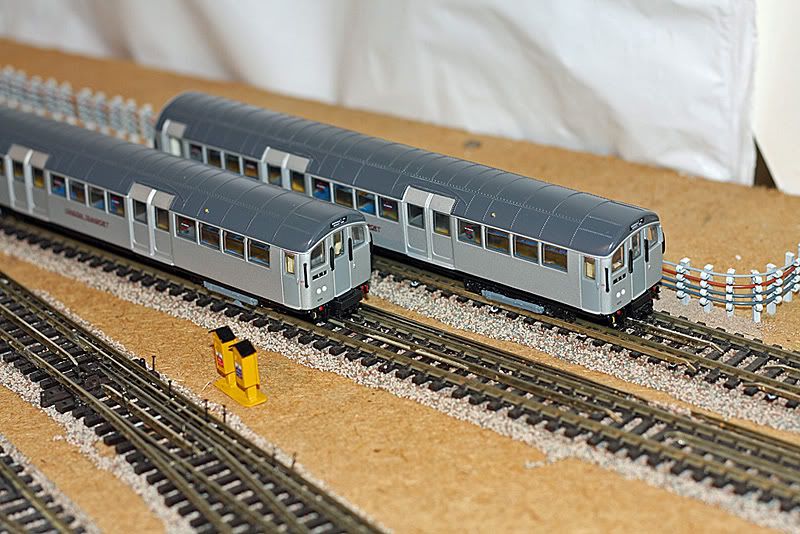
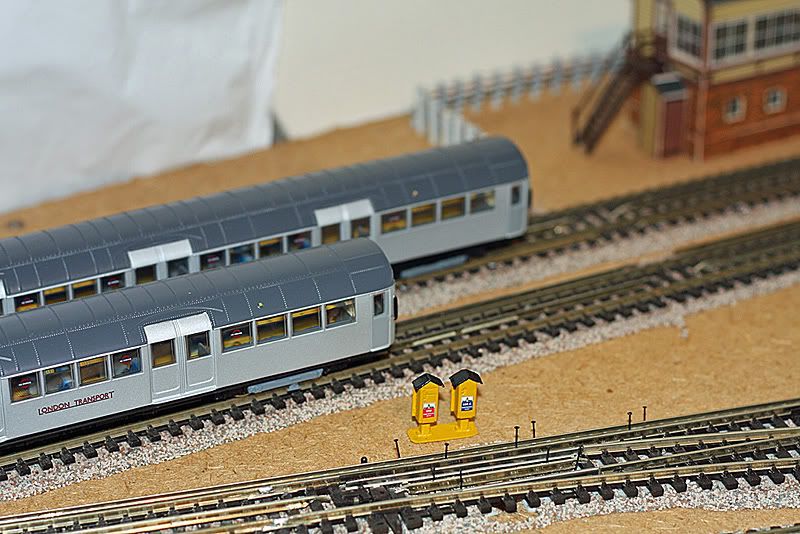
It seems to me that Southern modellers go to a lot of effort over the insulating pots, but with all the static electricity and general track gunge most of the white pots disappear quite quickly, so all you need is a representation of them.
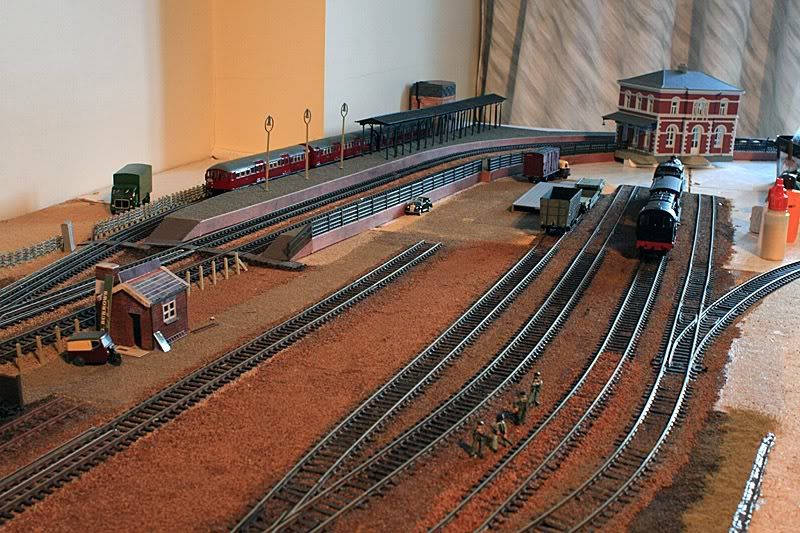
With all the kind comments about Aylesbury Junction, so far no-one has mentioned insulator pots – then again there aren’t any!
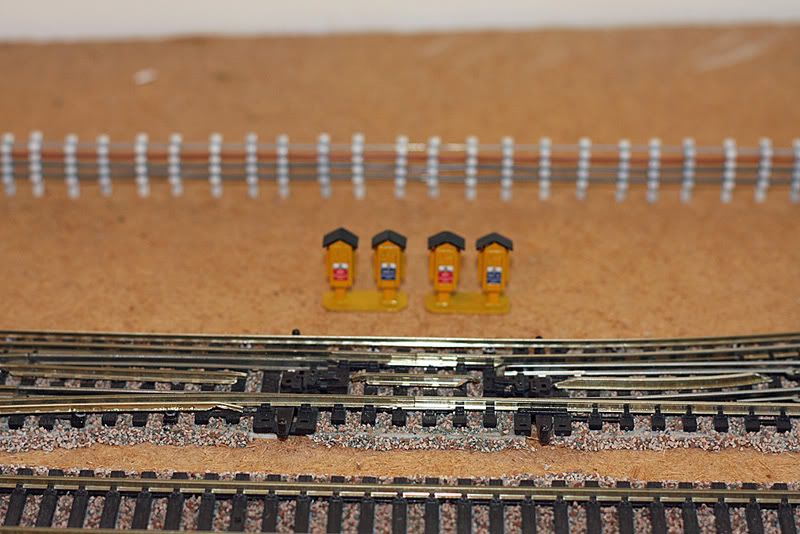
The centre rail is simply glued to the middle of the track. With weathering it’s given me an acceptable looking effect.
For the outside rail, I simply use a track pin, and the little white circular collar in the Peco pack for insulating chairs etc and ignore the pots. The pins are inserted every 5 sleepers or so. And the Code 60 rail superglued on top. This is where I say patience is needed. With the centre you may be able to do longer stretches at a time, but for the outer rail (especially on a curve) you may only be able to balance (and weigh down) 6” at a time.
In order to align the rails I just stick several track pins either side of the bit that’s setting and leave for at least 24hours. Once I’d got on top of the method I was able to work on 3 or 4 little bits at a time, and soon the work sites converged.
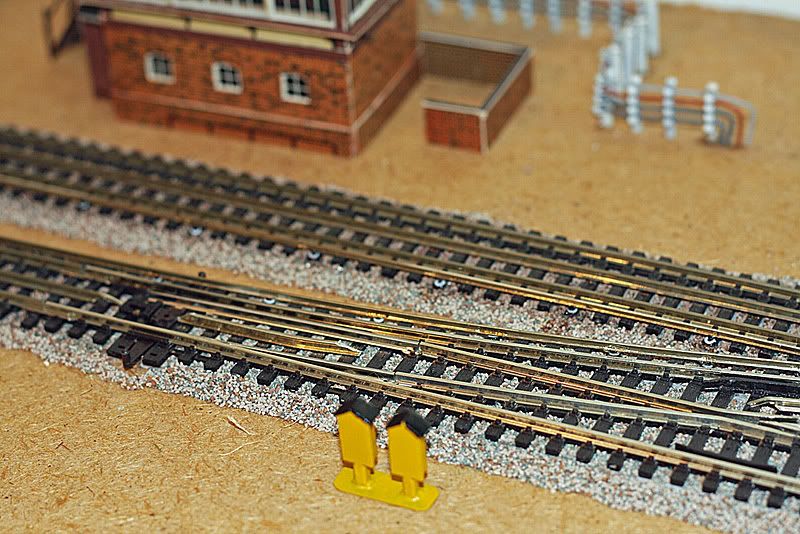
I have done a few other little tweaks in places but these are the main ways I’ve done it all. The one thing I can’t seem to do is the Vee in points. In life this is a piece of straight rail with another piece of straight rail cut at 45deg. I can’t seem to replicate this nicely so just do straights or curves as I think best fits the particular turnout.
All that’s left is to weather the track if you haven’t done so already. If I were to start again…… (don’t you hear that a lot?) I’d weather track and rails before laying.
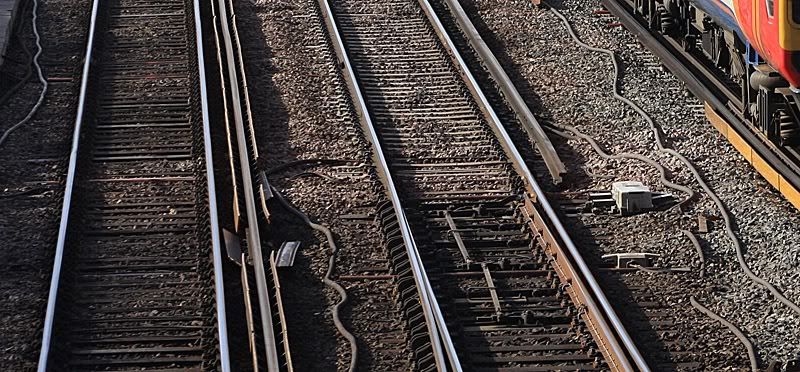
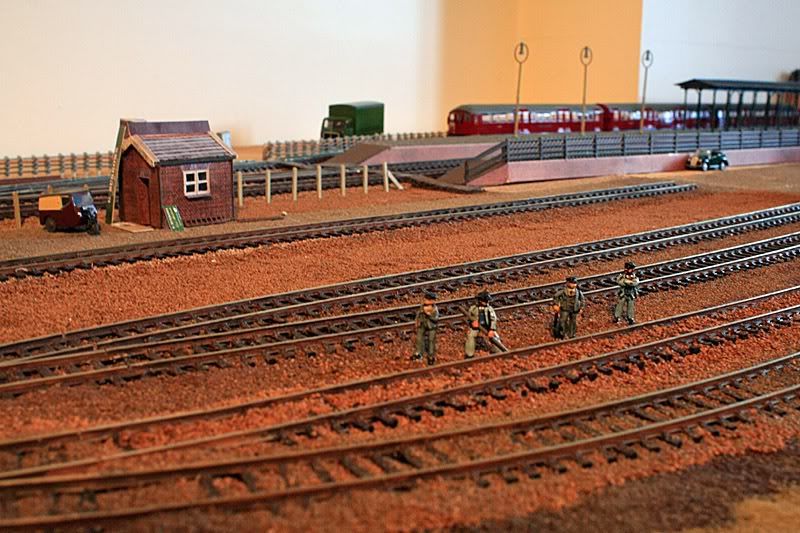
For weathering I use Joes Model Trains Custom Flat Acrylic - brown rust first. Then I use dark brown on top. The dark brown won’t stick to nickel silver without some kind of undercoat. The further lines here have just the rust undercoat, and the non-electrified lines have the dark brown topcoat as well.

It may take some time, but very little skill is needed, and when you have a decent length of complex track it’s a great thrill (not to mention relief….)
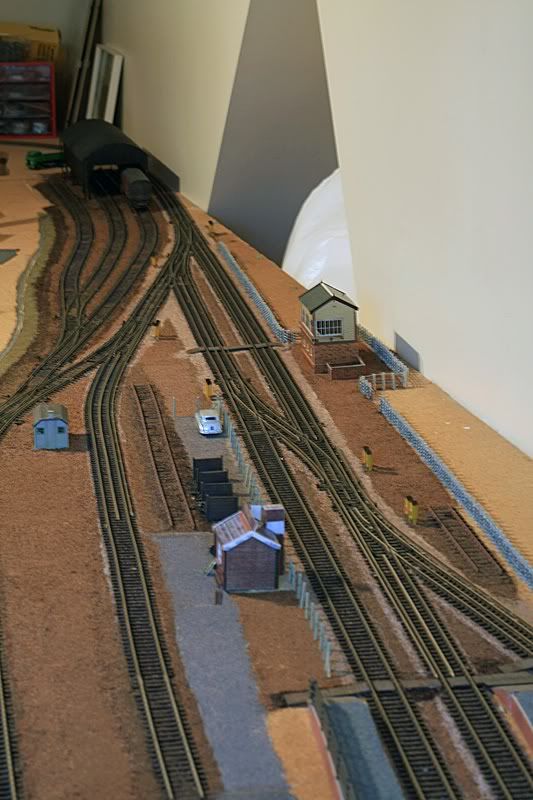
The 4 rail headshunt near bottom RH corner may not be prototypical but I need it for operations on my layout!